Thursday, August 30, 2012

Parasol Photos and Jackson!

Well, I fell off the face of the earth for the past week and a half. Sorry for the long wait on the parasol photos... here they are, in abundance! It was a nice day, so I trotted outside with Oswald (my faithful camera) and had a shoot.


Ta-daaa! This parasol is like my child ;*)

The still-bunchy insides :/

Folded up and ready to hit the road!

I can't get over the original lace!

The end. (Pun intended!)

The lining still isn't the best [insert understatement of the century] so I'll probably end up fiddling with it some more, eventually. For now, it keeps the sun off and looks super stylish, so I'm satisfied with that! Many ladies were quite envious of my Chantilly shade :)

The Jackson reenactment was this past weekend, which accounts for my absence. In the past couple of weeks, I have:
- Recovered the parasol
- Finished The Epic Striped Wrapper
- Re-set the cartridge pleating on the skirt of the blue and white plaid
- Boned the burgundy Swiss body
- Other miscellaneous maintenance and adjustments
- Made an entire new corset

Surprise! Yes, I just cranked out my first Victorian corset. The one I was wearing didn't fit too great (as it wasn't fit to me) and was too large to the point where it laced up all the way in the back and was still not nearly as tight as it should be. My very knowledgeable friend came over for a few sewing sessions/lessons and showed me how it was done. Look for another post about the corset experience after the JACKSON post, which will be next :) So many posts in the queue right now... be excited!!

Monday, August 13, 2012

Recovering the Parasol, Part II: Patterning, Fitting and Finishing

And we forge ahead in parasol-recovering! Now for the pattern.

Phase 3: Rescue lone surviving canopy piece
Snip. Snip snip snip. Snip snip snip snip snip snip snip snip. That was me removing every single stitch from both sides of the panel. The silk is very fragile. No tugging allowed. Some extremely cautious ironing left me with a flat panel. Despite my caution, it was hanging by a few less threads by the time it was flattened!

Phase 4: Mockup!
I took my pattern piece and cut 8 panels out of muslin to make a mock-up.


It fit the parasol pretty well:

The top. The lace is still chilling on the side.

The underside. Looking good so far!

So I decided to go ahead and cut out the silk!

Old panel, and new panels!

Phase 5: Putting it together
I stuck all of the silk pieces together. They fit the outside of the parasol frame well, but the inside was a little bunchy, so I had to take them in a little. I then hemmed the seams, as was the case in the original piece. I forgot to take a picture during this stage :( I then tacked it on to the frame. Still bunchy. I took it off and took in the seams. Still bunchy. About 62 years and a hundred seams later, it fit tolerably well. Ms. Parasol, meet Mr. Good-Enough... you two are about to become very good friends. I can always fix it more later, I figure. I can't stand the thought of adjusting it anymore!

Phase 6: Attach the canopy to the frame! (Again.)
This is the moment of truth. Here, the silk cover is stitched to not only the ends of the spokes, but also to two more points along the middle. (For the fourteenth time.)

Handy little hole in the tip!

Phase 7: Tack the lace to the silk
Almost there! But the Chantilly lace needs to be stuck down, because
a) it bunches in the middle when it isn't stretched, and
b) it flies up at the slightest breeze.
Neither of those are good! Tacking down it is.

Phase 8: Recline in shaded style
... to be executed at the Jackson reenactment in a couple weeks! Aww yeah!

Final verdict: Re-covering a parasol was... okay. I'd heard everything from "Oh, you can do it in an afternoon," to "Don't even think about it, it's more trouble than it's worth!" It took a few days of casually working on it, but I probably could have cranked it out in one or two intense sessions, or over a weekend had the situation demanded it. I'm pretty happy with it, considering it was my first shot and I did not have any assistance beyond some verbal instruction beforehand.

Final pictures to come in another post--check back in the next few days!

Friday, August 10, 2012

Recovering the Parasol, Part I: Restoring, not Destroying

It is a truth universally acknowledged that it is terrifying to take scissors to an antique, with the intention of dismantling it. Here is a diagram of this horrifying process: 


Nevertheless, I took my tiny Ginghers to the parasol, in an attempt to get the silk off. The whole time, I muttered to myself, "I am restoring, not destroying!" It was only moderately comforting, but after a few minutes, the shock of cutting into an original piece wore off somewhat.

Phase 1: Separate lace and silk.
They were sewn together near the end of the spikes. A dozen or so snips, and the lace was free! Now we get a better picture of the condition of the silk canopy

Destroyed side

Not so destroyed side... looks like a pattern piece to me!

Phase 2: Remove silk from parasol
This took a little longer. Both the top silk and the lining were securely stitched to little holes in the spokes (will be handy later!) and to a few points up the line. Nevertheless, this went pretty much without incident. Since the lace is quite securely fastened on, I decided to leave it be and just attach the silk under it, if possible.

No more silk! Except for the little guards on the spokes,
which are still intact.

Next step: use the extant silk to make a pattern. There are salvageable panels from both silk shapes, so it shouldn't be too bad... I hope! My trip to Haberman's yesterday furnished me with the material for the new canopy. I happened to find silk in exactly the same color as what had come off the original! (I should have enough of it to line it, too, should I decide to do so in the same color.) It also furnished me with the gumption to get this show on the road! My frog closures for my wrapper also finally arrived in the post yesterday. Now, I have to get these two projects cranked out so I can get going on the rest of my pre-Jackson sewing madness!

Wednesday, August 8, 2012

The Parasol of Destiny!

When I first started reenacting, I didn't realize how crucial it was to have a parasol. Laugh if you will--it's pretty much a necessity! Once you've used one for ten minutes and realized that having your own portable shade cools you off a solid ten degrees, you're spoiled for good. I've been meaning to get one for a while now, but hadn't run across any in the right style/price. Finally, I caved: I had some birthday money, and was getting one before my next event no matter what! I stalked eBay for a while, until I found... IT. The parasol.


I've always loved the lace ones, but they're always significantly more expensive than their plain silk counterparts. This one, with the carved handle to boot, was the most spectacular one I'd seen up for sale anywhere near the double digit price range. I stayed up late until the bidding came to a close, and won it for only $65!

I then ran around the house and told my brother how fashionable I was about to be approximately 62 times. It finally came the other day, and now I have to set to work on it so it's ready for Jackson at the end of the month. The ivory silk needs to be completely replaced, but the original lace is in very good shape minus a smattering of small holes that can be easily fixed.

Here are a few more shots of it, because I'm in love:


The underside, showing off the carved
handle and the lining.

Even the finial is carved all fancy-like!

Isn't it delightful!
(This shot makes the lace overhang
look longer than it really is.)

I've seen other originals lined in a light pink, and am considering something along those lines, depending on how ambitious I'm feeling once I reach the fabric store. A trip to Haberman's in Royal Oak tomorrow should supply me with the necessary materials... now if I can only get the pattern mock-up to go smoothly!

Progress posts will be made. Stay tuned! :)

Friday, August 3, 2012

The Epic Striped Wrapper, Part 1

Last weekend, I decided to whip up my new wrapper, which has been waiting to be made for a while now. I have one already, and it's hands-down the piece of clothing I use the most at events. It's so nice to have something to throw on in the mornings for breakfast, etc. without having to get completely dressed. (I always put my corset on before eating, which would force me to finish dressing for the day before food, hair, or anything else could really get done. Not good!) The making of another wrapper came less out of dissatisfaction with my first one, and more out of finding the BEST. WRAPPER. FABRIC. EVER!

Destiny? Destiny.

The moment I saw it, I knew it had to be a wrapper. That was last summer... since then, it's been pushed aside for other projects. In the wake of my Hastings sewing and with almost a month left until Jackson, it seemed like a good time to get it rolling.

I wanted to make a different style than I had previously, so I pored over every original wrapper I could find on the internet. (Not as daunting as it sounds... there aren't nearly as many examples as I would like!) I settled on a design that was comprised mostly of a single pattern of fabric, to highlight the stripes I am madly in love with. I also wanted pagoda sleeves, since half the beauty of a wrapper is lightness/coolness. I ended up with a cross between these:

Wool paisley wrapper - beautiful!   This is one of my favorite wrappers!

I had bought a little bit of a complementary yellow fabric at Hastings, and decided to use that for jointed sleeves as in the second original. I set to work altering/drafting, and arrived at this!

It also fits over my hoop, which makes it
look more like the other examples.

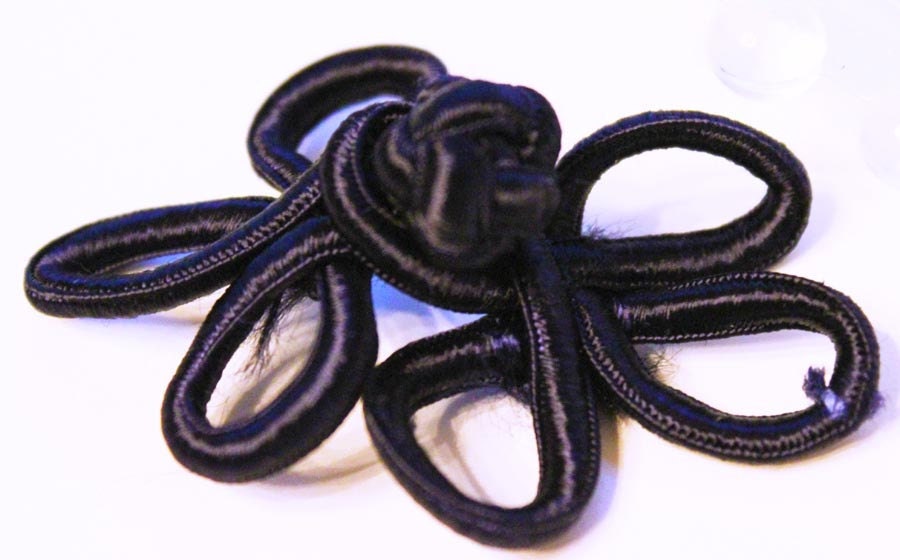
The sleeves are jointed just above the elbow, and are very comfortable as a result. I shortened them a little bit, so as to keep them out of the way. (They fall about halfway down my forearm.) My next step is to add front panels in the yellow cotton, which will be fastened with ten navy blue frog closures that I bought on Etsy: 

Set of 10 Navy Blue-  3 Loop Toggle -  Frog Closures

I am looking forward to the frogs, as my current wrapper is closed with a double row of buttons. Not very quick to get on and off! My favorite part of this one so far is the back. I decided to try a V pattern, and was very taken with the result:

Looks lopsided, but isn't really.

And just because I love it, here's a closeup at the waist:

Cartridge pleats and contrasting piping... yum! :)

 I'm hoping the frogs come soon, so that I can put them on and get it finished up. After that, all I have to do is hem the neckline and the bottom. Then, it will be belted, probably with a navy blue cord to match the frogs. All in all, it went together pretty quickly!